Introduction
Preparation
Before we get started with the application, install JBoss Developer Studio 7 with the Integration Stack for JBDS 7 as well as the Fuse Service Works 6 Product. You can find the instructions for installation in addition to the downloads at http://www.jboss.org/products/fsw.html. Also install SOAPUI which can be found at http://www.soapui.org/, either standalone or the eclipse plugin (http://www.soapui.org/eclipse/update).
Step Overview
The following describes the steps that we will follow to build and deploy our application:
1. Start JBoss Developer Studio
2. Create a new workspace
3. Create a new Switchyard Project
4. Create a Bean component and its contract
5. Add the Business Logic of the bean and the details of the contract
6. Promote the Service and create the transformation
7. Create the SOAP binding
8. Deploy the Service
9. Test the Service
Step By Step
Step 1 : Start JBoss Developer Studio
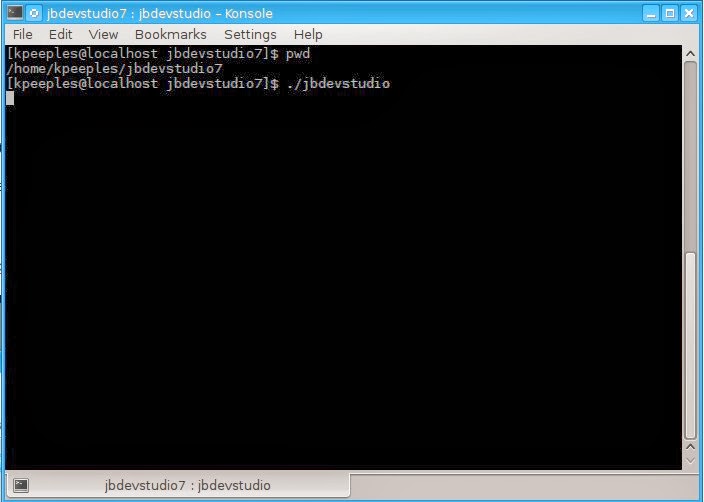
I have different installs and version of JBDS so I start this particular instance from the command prompt. The blog assumes you have the software installed as described in the Preparation section. You can start JBDS from the command prompt, Program Menu Item or desktop launcher.
Step 2 : Create a new workspace
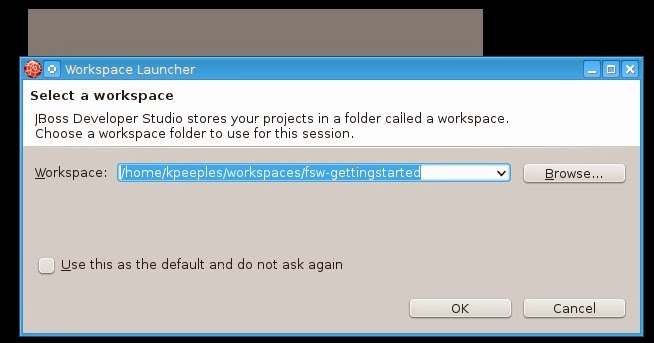
Create a new workspace, I used /home/kpeeples/workspaces/fsw-gettingstarted
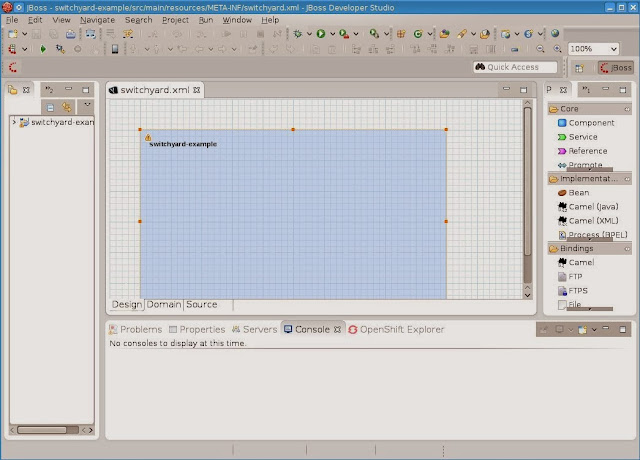
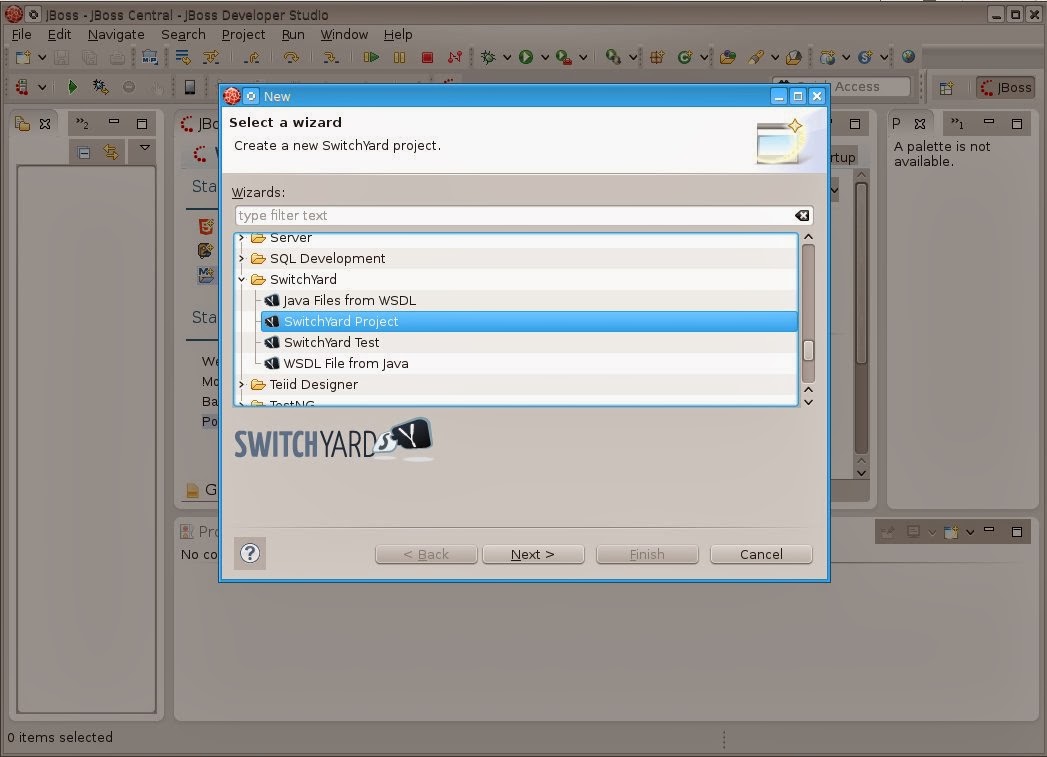
Step 3 : Create a new Switchyard Project
Select the New Switchyard Project Wizard.

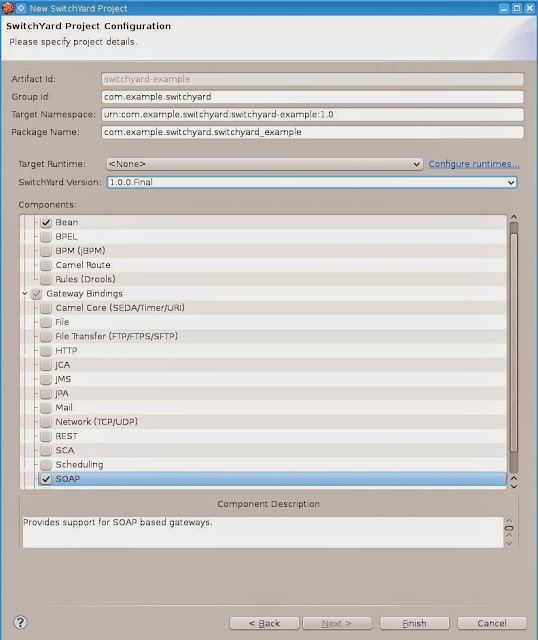
We will take the default on the first screen of switchyard-example. Click the next button. On the second screen, the switchyard project configuration, change the Runtime to "none" as we will deploy to the server after creation. Select the Switchyard version of 1.0.0.Final. Select the Bean Implementation and the SOAP Gateway binding. Then click Finish to create the project.
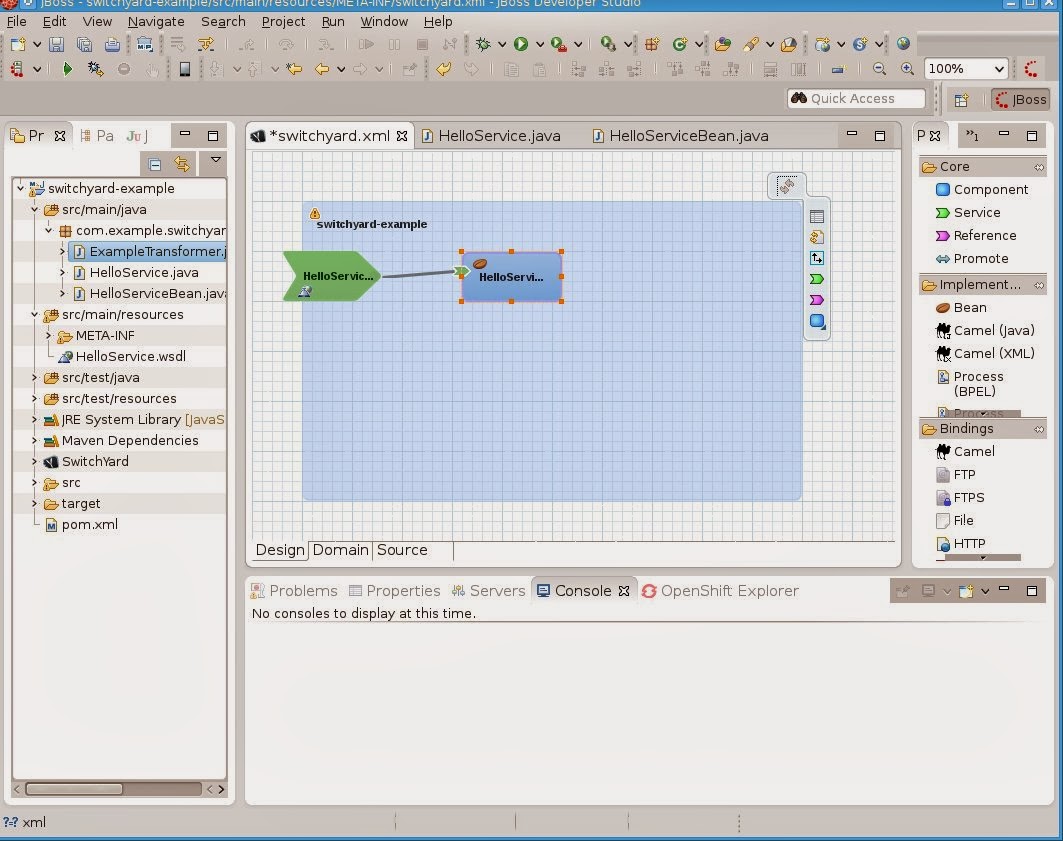
The editor which consists of the canvas and palette will be opened.
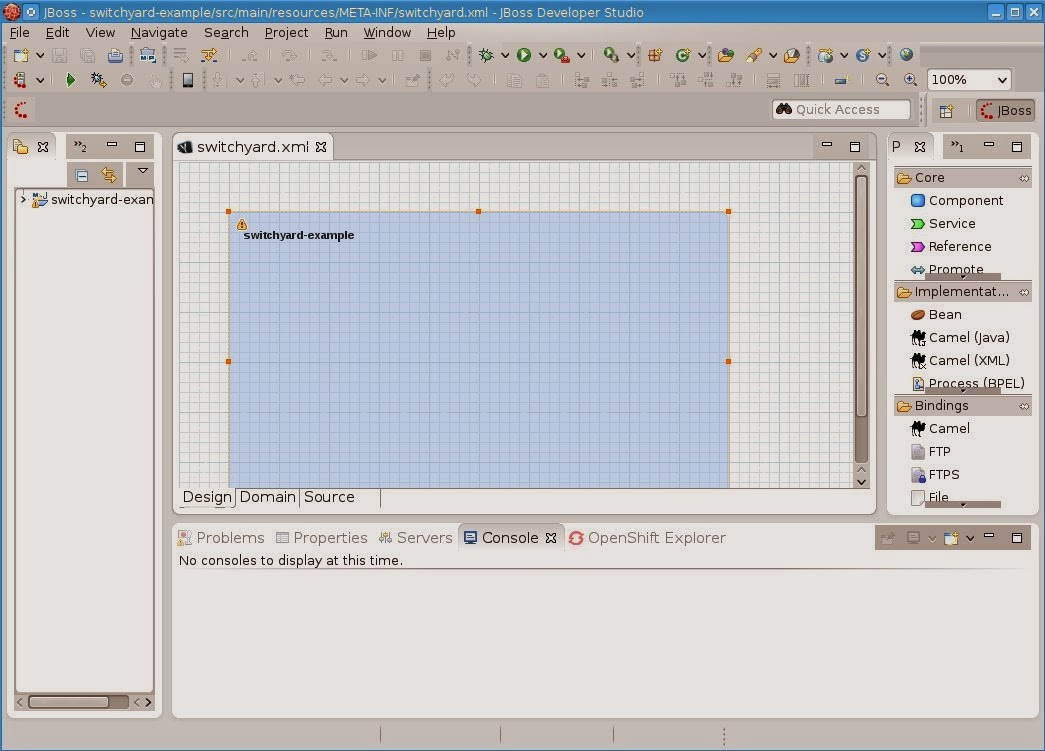
- The Canvas, shown in Blue, is our workspace where we will create and manipulate project elements.
- The Palette, shown on the right side, contains the elements that can be added to the project.
Step 4 : Create a Bean component and its contract
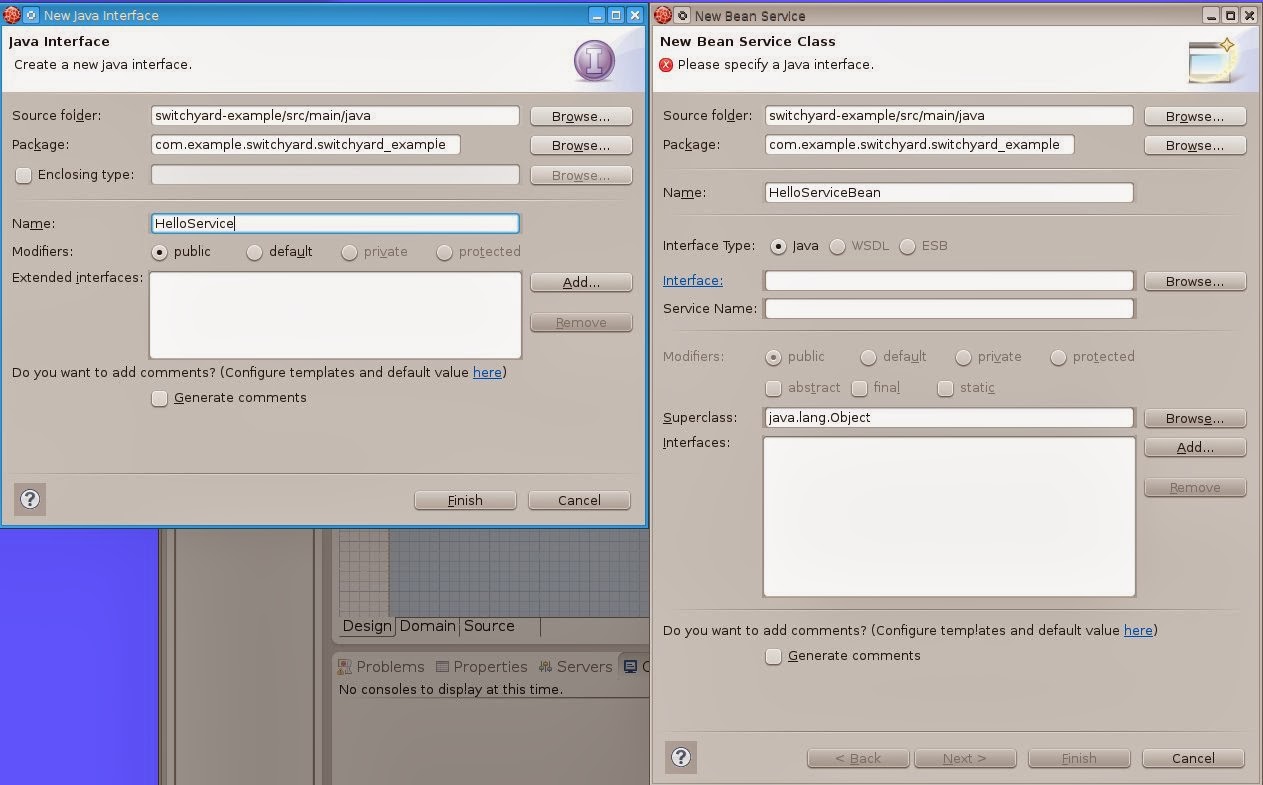
Step 5 : Add the Business Logic of the bean and the details of the contract
HelloService.java
package com.example.switchyard.switchyard_example;
public interface HelloService {
String sayHello(String helloString);
}
HelloServiceBean.java
package com.example.switchyard.switchyard_example1;
import org.switchyard.component.bean.Service;
@Service(HelloService.class)
public class HelloServiceBean implements HelloService {
@Override
public String sayHello(String helloString) {
System.out.println("Hello: " + helloString);
return "Hello " + helloString + "!";
}
}
Step 6 : Promote the Service and create the transformation

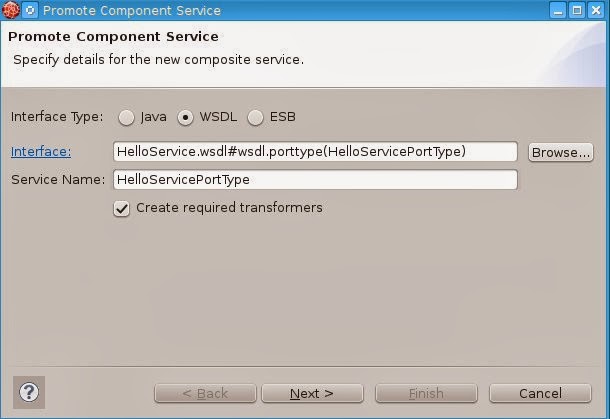
Click next. Leave both transformer types checked and the type as a java transformer. Type in the name as ExampleTransformer and click finish which will show our composite-service and our bean component.
ExampleTransformer.java
package com.example.switchyard.switchyard_example;
import org.switchyard.annotations.Transformer;
import org.w3c.dom.Element;
public final class ExampleTransformer {
@Transformer(to = "{urn:com.example.switchyard:switchyard-example:1.0}string")
public String transformStringToString(String from) {
// TODO Auto-generated method stub
String to = "Hello World!";
return "<sayHelloResponse xmlns=\"urn:com.example.switchyard:switchyard-example:1.0\"><string>"
+ from + " TRANSFORMED TO " + to + "</string></sayHelloResponse>";
}
@Transformer(from = "{urn:com.example.switchyard:switchyard-example:1.0}string")
public String transformStringToString1(Element from) {
// TODO Auto-generated method stub
return new String(from.getTextContent());
}
}
Step 7 : Create the SOAP binding

Step 8 : Deploy the Service
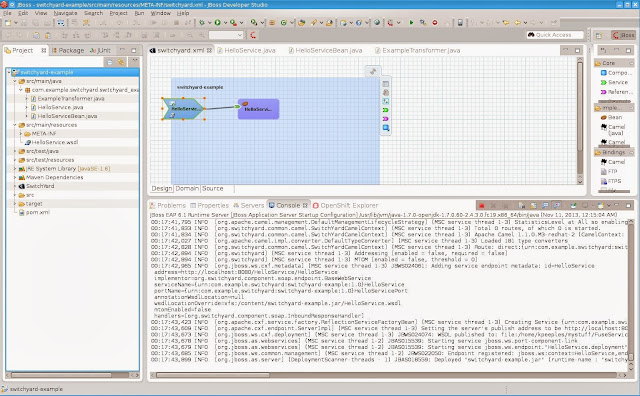
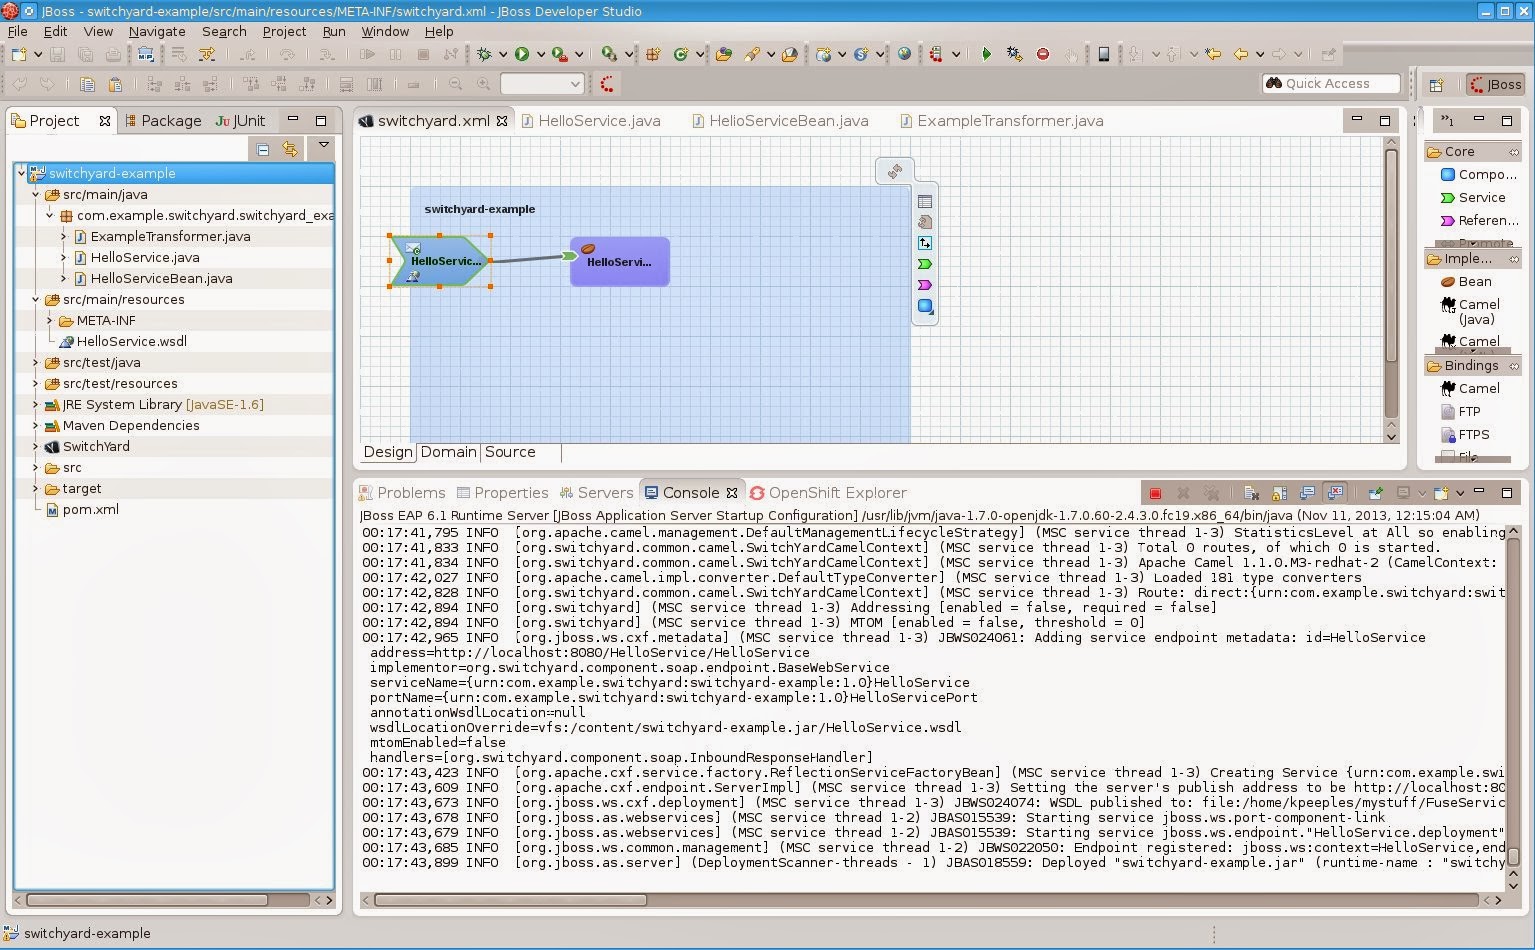
Now we can deploy our service. I already added the Fuse Service Works Server in the IDE and started the server. Right click on the project and indicate to Run As/Run on Server. Take the defaults to deploy to the server. The Application should deploy as shown below. The WSDL should be accessible at http://localhost:8080/HelloService/HelloService?wsdl
Step 9 : Test the Service
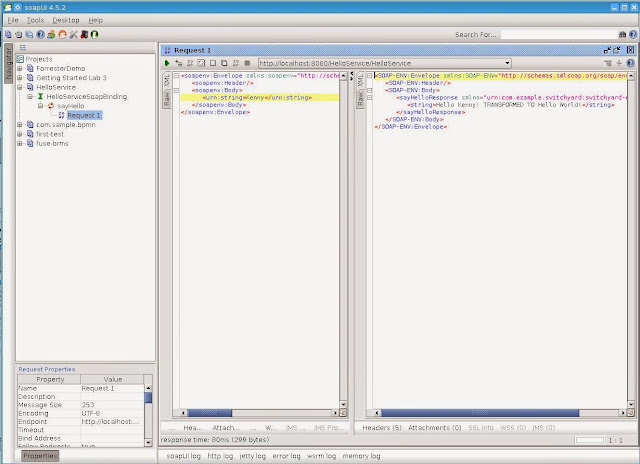
Create a new SOAPUI project with the WSDL. Enter Kenny as the string for the request. Submit the request. On the console Hello: Kenny displays. In the SOAP response Hello Kenny! TRANSFORMED TO Hello World! because of the code in the transformer. You have created your first simple Fuse Service Works Application.