Simplified
Workshop Series
Run
Time Governance
in
Fuse Service Works
Welcome
to the Simplified demo series. I refer to this as a workshop in a
box, meaning everything is included to get you started such as the
source, instructions, videos, presentations, etc. This demo will walk
you through a quick demo of Run Time Governance in Fuse Service
Works. It is split into 3 main sections. First is the quick demo
which walks you through the quick steps to run a quick, easy demo
(The What). The second section gives an overview of the technology
and how the demo was created (The Why and How). The third section
gives you additional collateral. So let’s get started and as they
say so easy a non techie can do it...
Section
1 : Run a quick demo
Step 3:
Place the software in the distros folder
Step 4:
Modify the support/InstallationScript.xml file to contain the full
path to the installed/fsw directory. Make sure to leave the
installed/fsw directory. The script performs the automated install of
Fuse Service Works. NOTE: This is installing the Switchyard, DTGov,
S-RAMP and RTGov components which wouldn’t be the recommended setup
as Design Time would be a separate server from the Switchyard/Run
Time Server.
<installpath>/home/kpeeples/demos/fsw-simple-demo/installed/fsw</installpath>
Step 5:
Modify the post-run.sh file to have the appropriate directory for the
quickstarts.
Step 6:
Run the install-run.sh script to install FSW and start the server
Step 7:
Open another terminal and run the post-run.sh script. This will kick
off the individual examples.
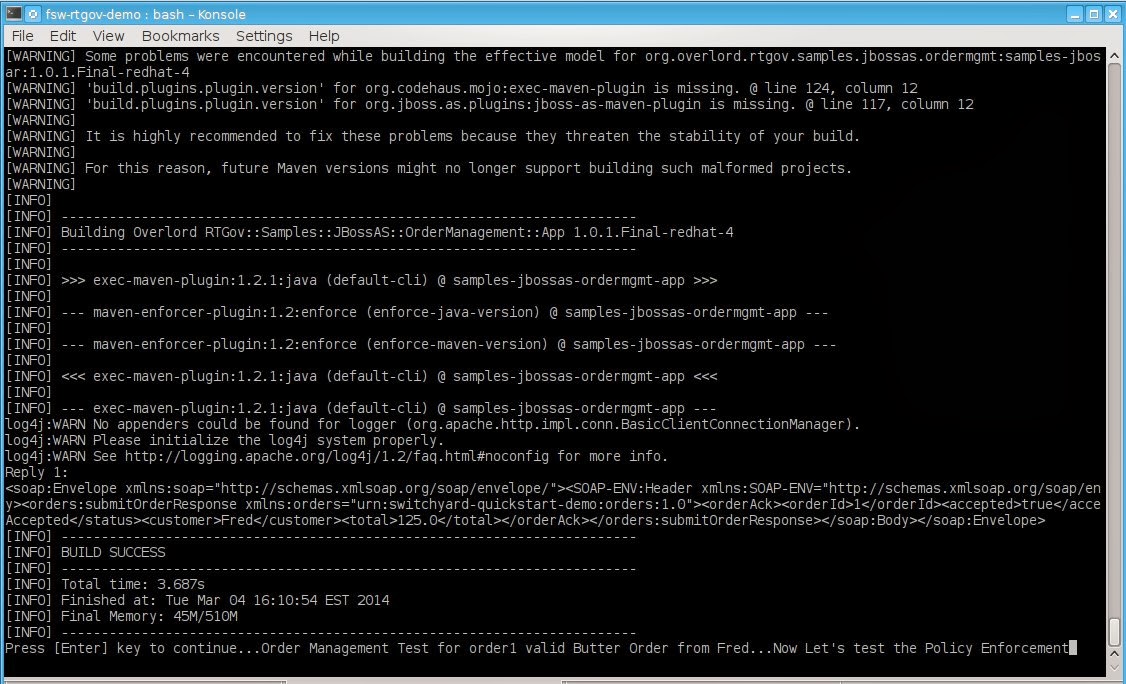
A. First
we deploy the application and information processor. The accepted
status from the response should be true.
B. Next
we will show the Synchronous Policy Enforcement to see that orders
from Fred cannot be performed more the 1 request every 2 seconds.
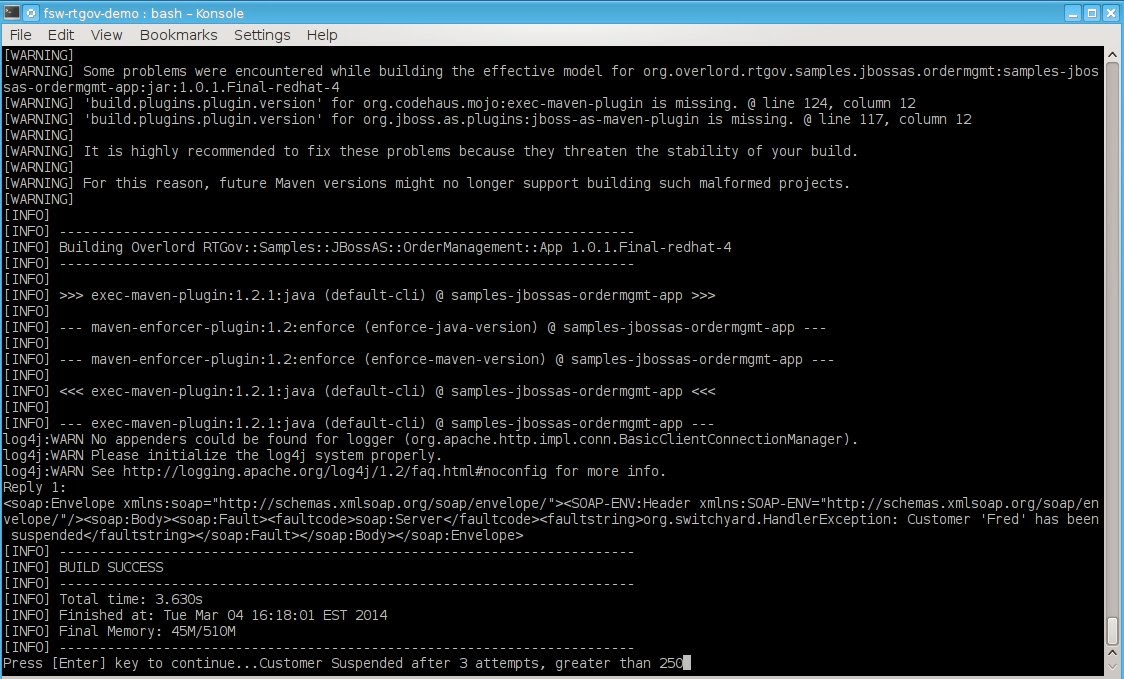
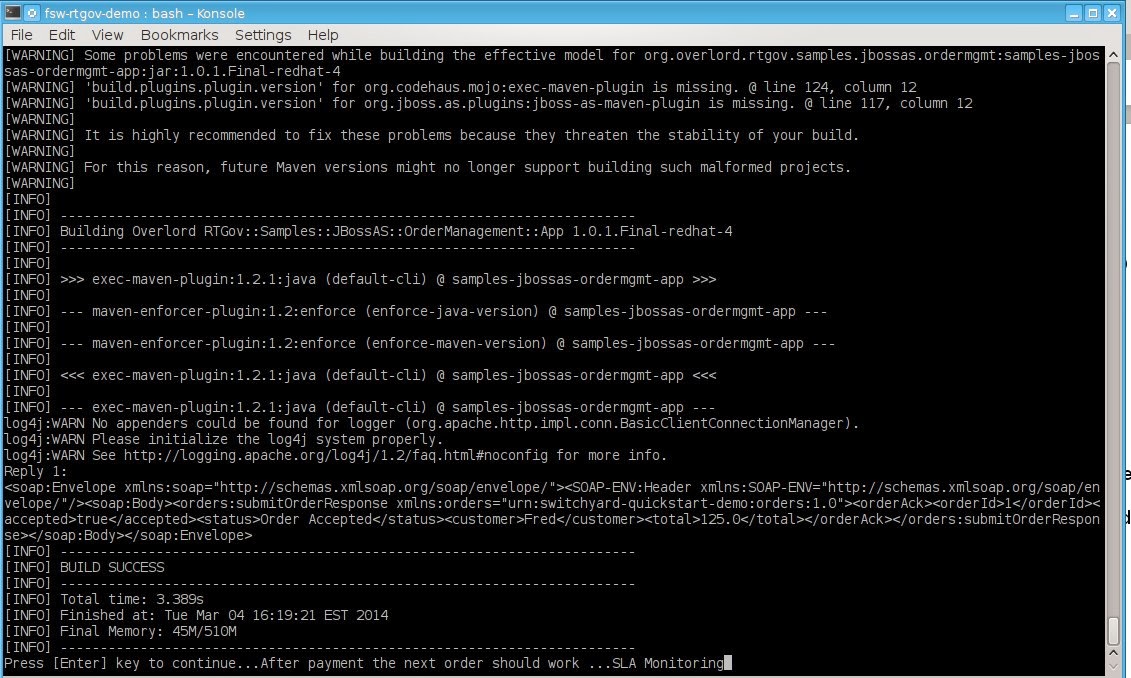
C.
Next we will show the Asynchronous Policy Enforcement to see that a
customer will be suspended after 3 attempts that goes over a
threshold. A make payment is done in order to continue orders.
D.
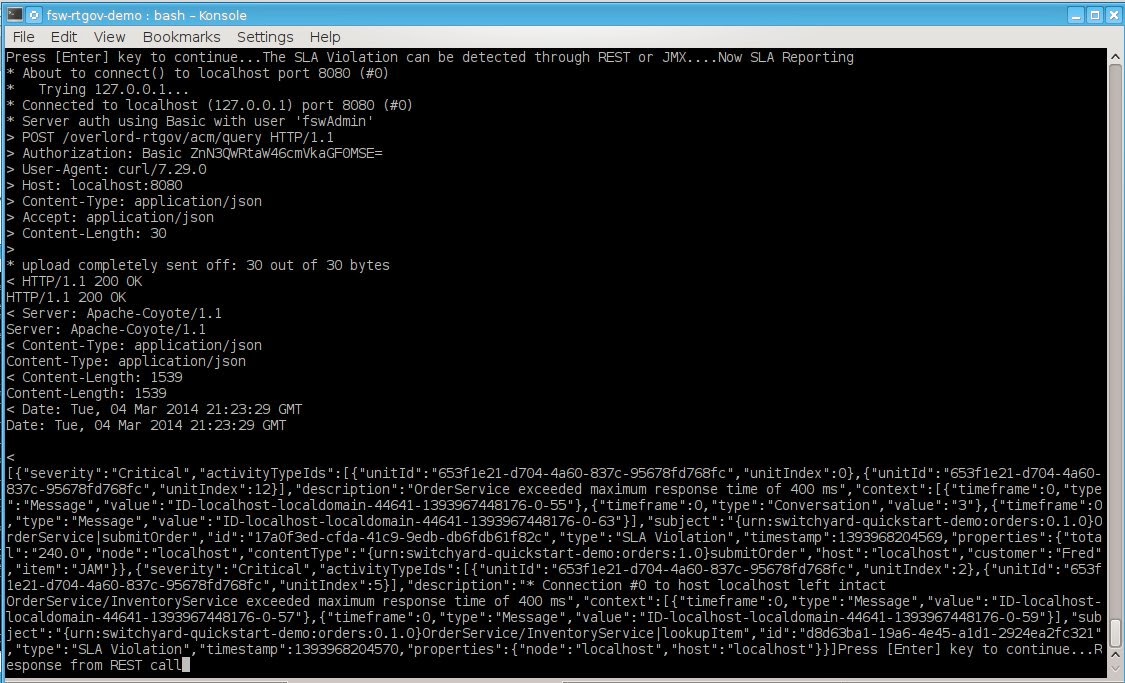
Next we will show SLA Monitoring. The “Situations” active
collection will report SLA violations to the end user through REST or
JMX. We will use REST.
E.
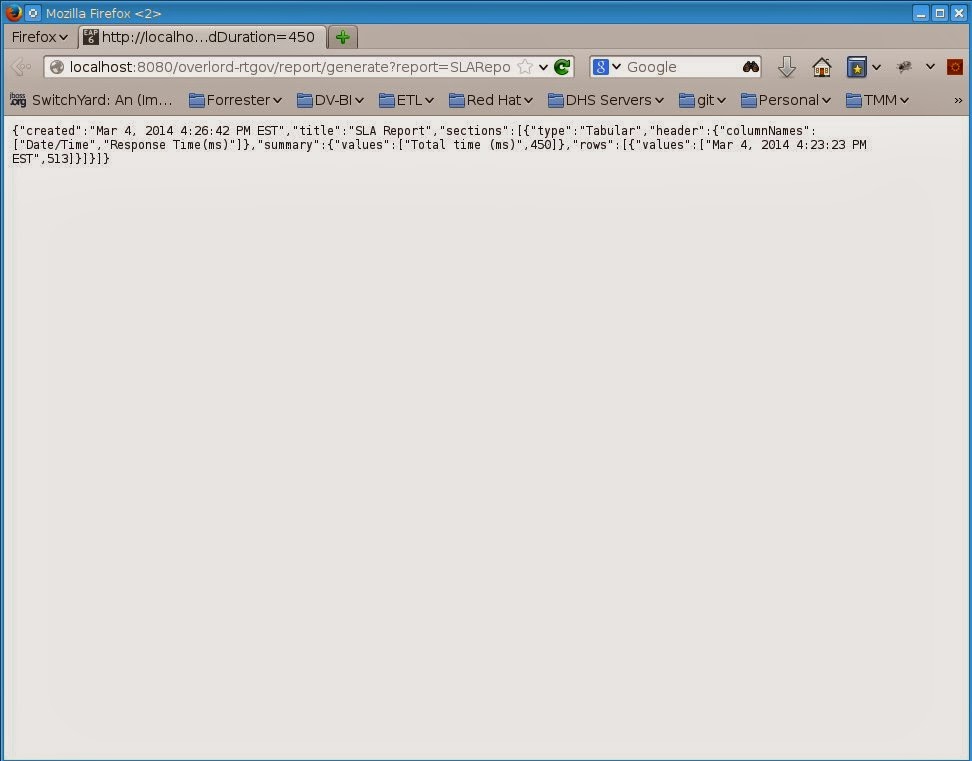
Next we will show SLA Reporting. We will generate a report which will
return the violations that occured in year 2014.
This
is a quick demo of Run Time Governance. More detail of configuration
and step by step are below.
Section
2 : Technology Overview and creating the demo step by step
Technology
Overview
This was compiled from
http://docs.jboss.org/overlord/rtgov/quickstart/1.0.0.Final/html_single/index.html
and
https://access.redhat.com/site/documentation/en-US/Red_Hat_JBoss_Fuse_Service_Works/6/html-single/Development_Guide_Volume_3_Governance/index.html.
In SwitchYard, the applications are exposed as shared business processes
or services. In a shared environment, the most common challenges
revolve around access control, access rights, security issues, and
service authorizations. SwitchYard uses Run-Time Governance to
facilitate complete control over the shared services by following a
policy based approach. SwitchYard classifies Run-Time Governance into
two aspects:
- Policy definition and enforcement
- Collection and exposure of run-time metrics for services and service references
The architecture is separated into four distinct areas, with components that bridge between these areas:
- Activity Collector - this component is optional, and can be embedded
within an executing environment to manage the collection of information
- Activity Server - this component provides a store and query API for
activity information. If not using the Activity Collector, then activity
information can be reported directly to the server via a suitable
binding (e.g. REST).
- Event Processor Network - this component can be used to analyse the
activity information. Each network can be configured with a set of event
processing nodes, to filter, transform and analyse the events, to
produce relevant rules.
- Active Collection - this component is responsible for maintaining an
active representation of information being collected. UI components can
then access this information via REST services to present the
information to users (e.g. via gadgets)
Step by
Step
The step by step will be added in the next version.
Section
3 : Additional Collateral and demo structure
The
root folder of the demo contains:
install-run.sh
to install and run FSW
pre-run.sh
to do any pre-installation setup or compiling
post-run.sh
to do any post-install setup or compiling
README.MD
to briefly descibe the demo
readme.html
to meet the objectives 1) quick and easy demo 2) step by step
instructions with collateral
reset.sh
to reset the demo
The
collateral folder contains:
Video
for videos or link to video
Presentation
for presentations or link to presentation
Blog
for a blog document or link to blog
Simulation
for a simulation of the demo or link to simulation
The
distros folder contain the downloads for the demo
The
installed folder contains subfolders for the software to be installed
when the script is run
The
source folder contains any source projects to be compiled and
deployed
The
support folder contains any supporting files/directories
Closing


